
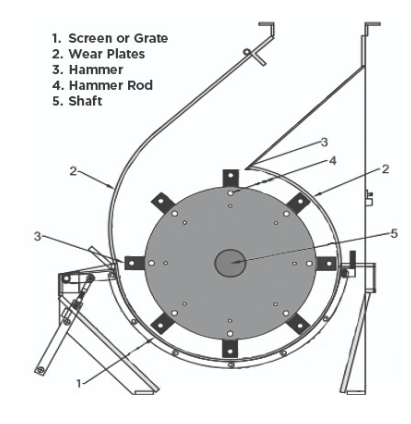
Machines that reduce the size of a material also erode the grinding elements. In general, the more abrasive the material you grind, the more quickly the internal parts wear. To ensure efficient operation and longevity of your Hammer mill, it’s crucial to regularly inspect and replace its wear parts.
These components include hammers, rods, screens, bearings, and wear plates. In this guide, we will walk you through the steps of replacing your screens or grates to ensure your hammer mill continues to operate efficiently.
Replacing the Screens or Grates
NOTE: This procedure requires two people to perform Step 10.
- Switch off the main power supply breaker.
- Secure the main switch using your site’s OSHA-approved lockout/tagout procedure.
- Open the mill hood.
- Use the handle to pull out the Rear Screen
- Remove the handle from the rear screen so that you can attach it to the new screen.
- Unbolt the front cover plate.
- Unfasten bolts for the front screen.
- Remove the front screen.
- Insert the new screen and push it as far forward as possible so that the second operator can reach it.
- At the front of the mill, the second operator pulls the screen upward and bolts the fixing angles into place.
- Replace the front cover plate.
- Fasten the bolts.
- Fasten the handle to the new rear screen.
- Place the rear screen.
- Make sure the finger plates of the front screen meshes with the finger plates of the rear screen.
- Close the mill hood.